
24/02/2011
DL link


Renders + Thoughts

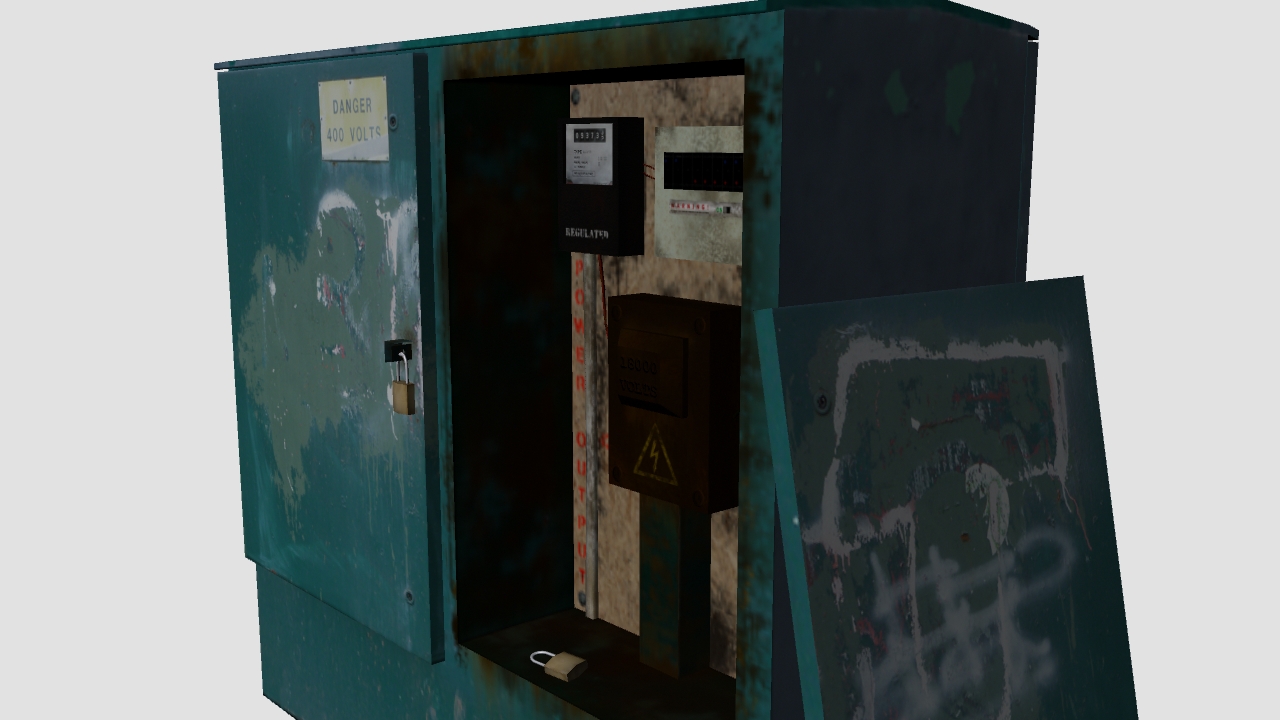

Final Model Screens
A selection of screenshots showng my final asset model.

Front

Back

Asset Screenshots Part 2


Texture Maps


All of the padlock was created from scratch in PS apart from the the key slot at the bottom, which was sourced from online. I added a bump map for the lettering on the lock.


For the meter I created the entire front panel with numbers in PS. I couldn't find the desired looking front I wanted. I think it looks really good and realistic myself.

This is the main shell of the cabinet/box. All sourcxed from the photographs I took in Markeaton Park. I added my own rust and damage wear for the interior panels where the components sit using PS.

I added some writing to the fuse box to give it a sense of use. Not just sat there doing nothing. Also I used a bump map for the outline of the door on the front. Again using brushes to get that speckeled dirt effect.

UV maps
Doors

Box/Cabinet

The fuse texture along with the meter and power components will be created from scratch in Photoshop using brushes and blending techniques. I will get ideas from the collected reference materials though. I'd use some other images I had taken to also enhance the wear of the items.

Meter

Power

Padlock

Subscribe to:
Posts (Atom)